 RageKit
How to add a livery to a GTA V vehicle
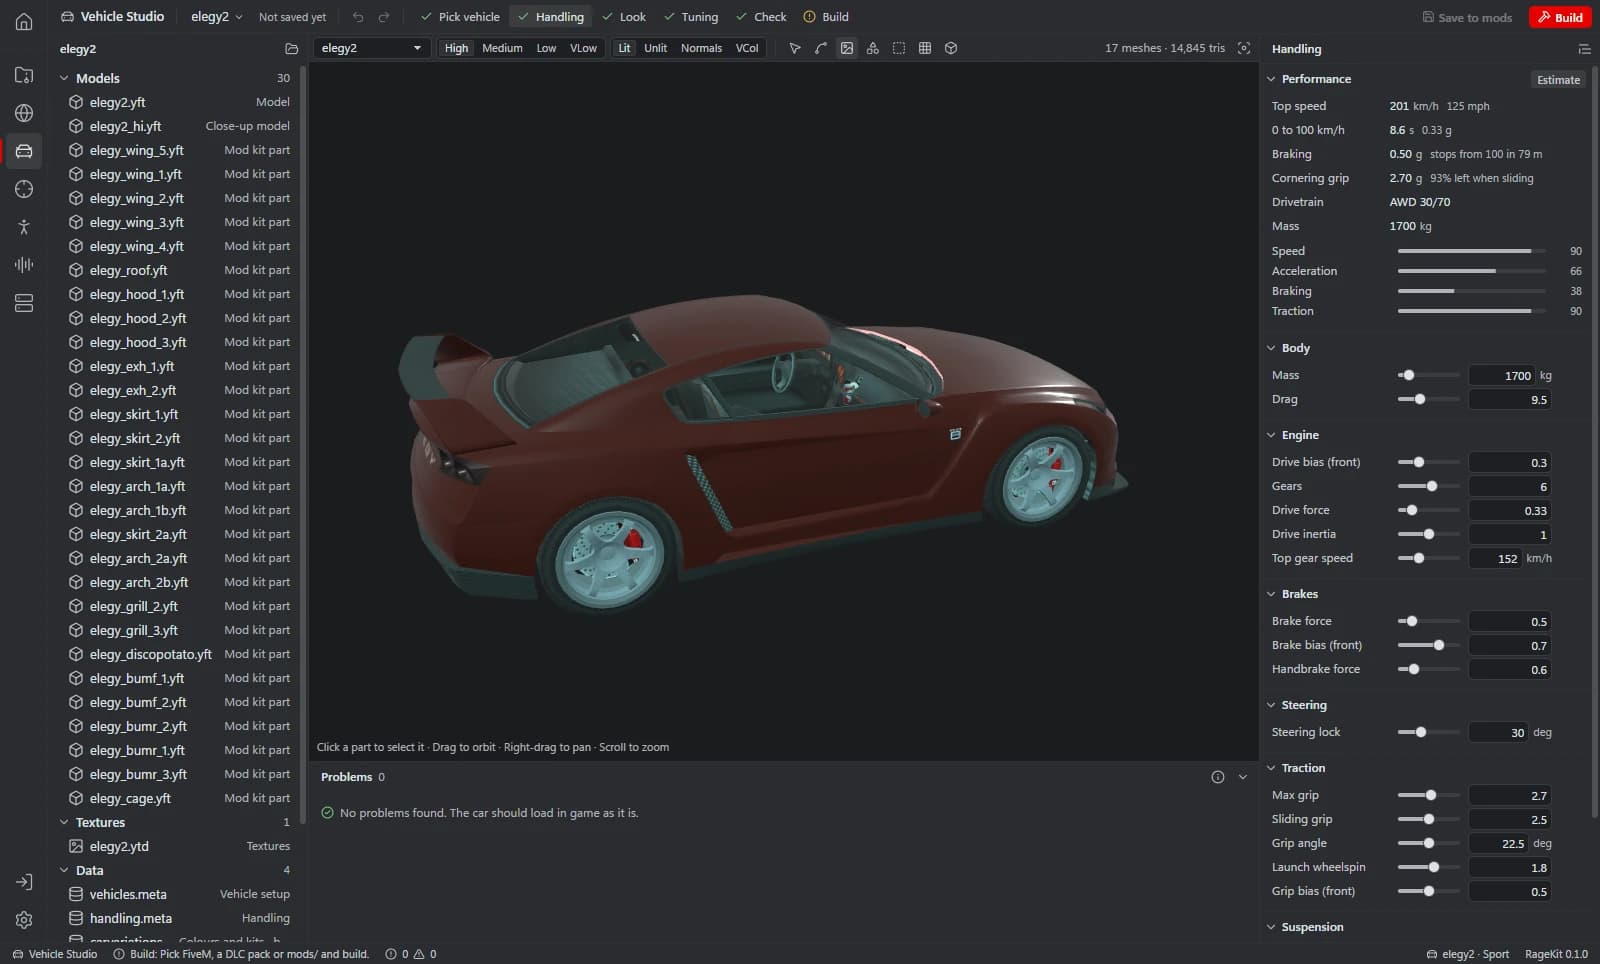
In GTA V, liveries are textures in the vehicle's texture dictionary (.ytd), usually named like <model>_sign_1. To add one you paint over the car's UV layout and put the image into the .ytd at the right size and format. RageKit's Vehicle Studio makes the UV template, previews your image on the car in 3D while you paint, and writes it into the .ytd keeping the original format and mip count.
Before you start
- A vehicle with a livery texture in its .ytd.
- An image editor that saves PNG, JPG, TGA, BMP or DDS.
Steps
Open the vehicle
Open the car in Vehicle Studio and go to the Look step.
Make a template
Choose Make template… and save the UV template as PNG or DDS.
Paint
Paint your livery over the template in your image editor and save it.
Preview live
Choose Use an image… and turn on Watch for changes. Each time you save in your editor the 3D preview updates.
Apply
Choose Apply livery. The image is written into the .ytd with the original texture's format and mip count.
Build
Build the vehicle for FiveM or singleplayer, or save it to the mods folder.
Questions
Which textures count as liveries?
Textures named like *_sign_N or containing livery in the vehicle's .ytd.
Can I replace any texture, not just liveries?
Yes, in the RPF Explorer's texture viewer: Replace… takes a DDS or PNG. See how to replace textures in a YTD.
Tools in this guide
Related guides
- How to replace textures in a YTD fileOpen a GTA V .ytd, export textures to PNG or DDS, edit them, and replace them one by one or from a folder, then optimise oversized textures.
- How to make an addon vehicle for FiveMStep by step: turn a GTA V car into a FiveM addon vehicle with its own model name, handling, colours and sirens, then build and start the resource.
Get RageKit
Free for Windows 10 and 11. No account needed.
There's no Windows installer on the latest release yet. Check the changelog for when it lands.